

Table of Contents
You have finally built a gaming PC that looks fantastic through its glass side panel. The RGB lighting is perfect, the graphics card is powerful, and the desk is tidy. Then a long gaming session begins and the fans get louder, temperatures climb, and performance becomes less consistent. Is the case too small? Do you need to buy more fans? Or are the fans you already own simply moving air in the wrong direction?
Understanding gaming PC airflow can save you money, lower unwanted noise, and make an existing desktop more pleasant to use. The goal isn’t to create a wind tunnel. You want cool air to reach the components that need it and warm air to leave without unnecessary obstruction. This guide covers intake and exhaust, positive and negative case pressure, fan placement, radiator choices, dust management, and a practical way to test your own setup.
Gaming PC Airflow: The Quick Answer
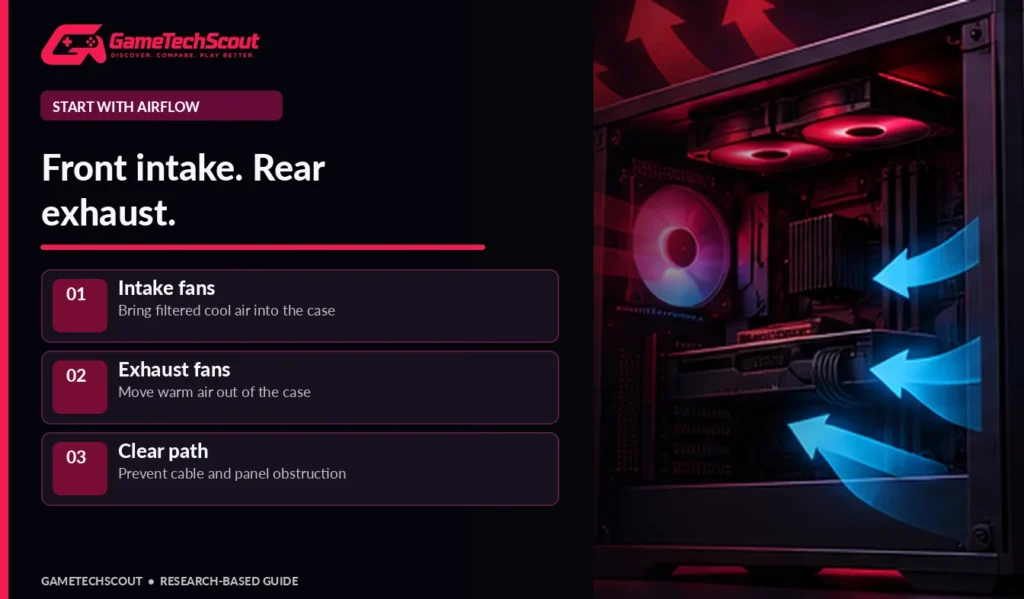
For most traditional mid-tower cases, a sensible starting point is front or side intake fans plus a rear exhaust fan. Additional fans can help, but where you install them matters more than filling every mounting point. Noctua’s airflow fundamentals recommend a practical five-fan baseline of three front intakes plus rear and top exhaust, while noting that simpler three-fan layouts can also work.
| Setup | Typical airflow path | What to check |
|---|---|---|
| 2 front intake + 1 rear exhaust | Front to back | Good basic starting point |
| 3 front intake + rear and top exhaust | Front to rear/top | More airflow for powerful builds |
| Side intake + top/rear exhaust | Side to top/rear | Common in showcase cases |
| Bottom intake + top exhaust | Bottom to top | Useful for particular vertical-flow cases |
These examples aren’t universal prescriptions. Fans, filters, radiator placement, case panels, and GPU layout all influence results. Measure your actual temperatures before redesigning the cooling system.
How Does Airflow Work Inside a Gaming PC?
Fans move air, but components produce heat. The graphics card and CPU cooler transfer that heat into surrounding air, which the case fans must then exchange with cooler room air. If the case traps hot air, the hardware can run louder or reduce operating clocks to remain within its designed limits.
Intake Fans Bring Cool Air Into the Case
Intake fans pull air through an opening, usually a front, bottom, or side panel. When possible, that opening should have a dust filter. Mesh panels are particularly useful when they allow air to pass without forcing fans to fight through tiny decorative slots. An intake fan’s real effectiveness depends on restriction, fan speed, and nearby components.
Exhaust Fans Remove Warm Air
Rear and upper fans commonly exhaust air. For a tower air cooler facing the rear of the case, rear exhaust can form a useful straight-through path. Warm air naturally tends to rise, but powered fans dominate airflow in most small PC cases. Do not install fans only because an arrow seems visually attractive; follow the case and cooler’s actual airflow direction.
How to Tell Which Way a Fan Blows
Many fans have small arrows on the frame showing rotation and airflow direction. Otherwise, consult the fan documentation. A common fan design draws air through its open side and exhausts through the side with support struts, but exceptions exist. Verify rather than trusting a universal rule.
Positive vs Negative vs Neutral Case Pressure
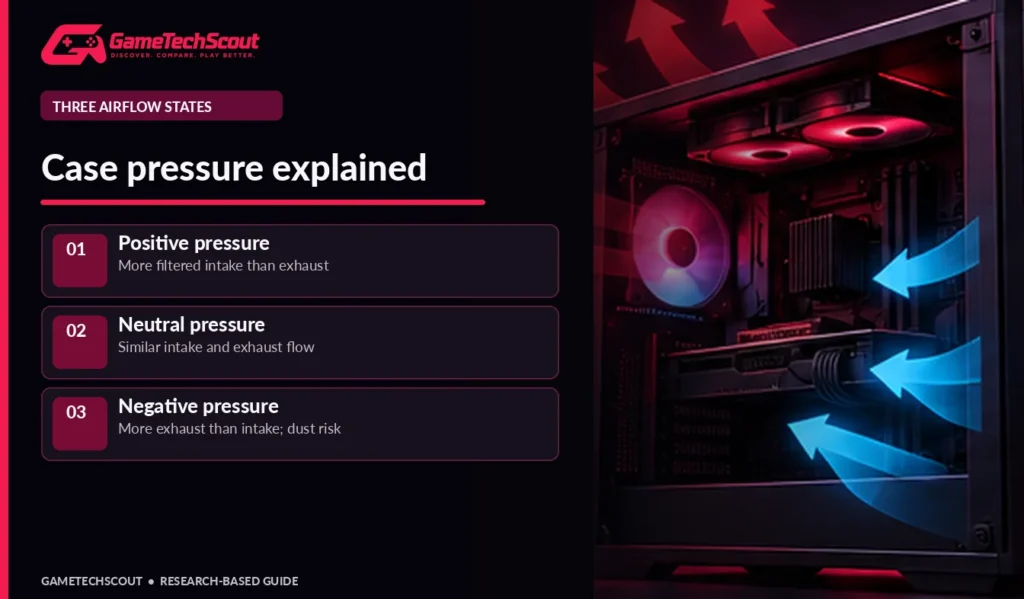
Case pressure describes the balance between air being pushed into the case and air being expelled. It’s useful for planning dust and ventilation, but exact pressure isn’t something you can predict merely by counting fans. Filters, radiator resistance, fan curves, and different fan sizes matter.
Positive Pressure: More Intake Than Exhaust
With slightly more filtered intake, a case can reduce the amount of unfiltered air drawn through gaps. That is why positive pressure is often a good starting point for dusty rooms. However, poorly positioned intakes or blocked exhausts can still create hot spots. Adding more intake fans will not always solve overheating.
Negative Pressure: More Exhaust Than Intake
A strongly exhaust-heavy arrangement can draw air through gaps that bypass the filters, potentially increasing dust buildup. In some unusual or restrictive cases, it may still produce acceptable component temperatures. Compare results rather than treating negative pressure as automatically dangerous.
Neutral Pressure: Roughly Balanced Airflow
Neutral pressure aims to keep intake and exhaust similar. In practice, it is a continuum rather than a setting you select with a button. The most important outcome is a clear air path and reasonable temperatures and noise. Noctua’s setup examples and pressure comparison explain these trade-offs for different case layouts.
Best Gaming PC Fan Layouts for Different Cases
Standard Air-Cooled Mid-Tower
If you have a conventional ATX case with front mesh, start with two or three front intakes and one rear exhaust. Then test an additional top-rear exhaust fan. Don’t automatically place a top exhaust immediately above the front intake: in some layouts it can remove cool air before that air reaches the CPU cooler.
Aim for air entering the front, crossing the CPU and graphics card, and exiting toward the back. Keep the area around the main intake clear of cable bundles, decorative drive cages, or other obstructions where possible.
Glass Showcase Cases With Side Intakes
Some gaming cases use side intake fans instead of a perforated front. Treat those side fans as the main source of fresh air, then use top/rear exhaust according to the case design. Bottom intake fans can help deliver air toward the GPU if the case has the required clearance and filtration.
Avoid assuming a beautiful glass case must have poor thermals. Some are well engineered, while others restrict airflow. Independent case reviews are more informative than the amount of visible RGB.
Small-Form-Factor Gaming PCs
Compact builds face tighter clearance, cable, and noise constraints. A top-down CPU cooler may need different airflow from a tower cooler. GPU placement and side vents can also dominate cooling behavior. Follow the case maker’s recommended fan and cooler combinations rather than copying an ATX tower diagram.
Air Cooling vs Liquid Cooling: Fan Placement Changes
A tower-style air cooler typically follows a front-to-back path. All-in-one (AIO) liquid coolers add a radiator that resists airflow and transfers CPU heat to the air passing through it. Radiator placement creates a temperature trade-off.
Front Radiator Intake
Air from outside passes through the radiator before entering the case. This can help the CPU receive cooler intake air, but it may increase the temperature of air reaching the GPU. The result depends on the radiator, fan speed, case geometry, and GPU output.
Top Radiator Exhaust
Air leaves through the top radiator, helping send GPU-heated case air out of the enclosure. This can benefit GPU temperatures in some layouts, while the CPU radiator may receive warmer air. Noctua discusses these CPU/GPU trade-offs in its airflow setup guide.
Important AIO Installation Check
Follow the AIO manufacturer’s instructions about pump position, tubing, and radiator orientation. Incorrect installation can cause pump noise, reduced cooling, or accelerated wear. Do not move a radiator based on a generic infographic without checking your hardware’s specific requirements.
Do More Fans Always Improve Gaming PC Temperatures?
No. If a case already exchanges enough air, extra fans can produce diminishing returns. In some layouts, conflicting flows add turbulence or noise. More fans also mean more cables, control points, and surfaces that collect dust.
The right question is: Does the additional fan lower the temperature or noise of the component that matters? Test a baseline, change one variable, and compare under a consistent gaming workload. Tom’s Hardware’s 2026 guide to positive and negative pressure explains why airflow optimization is about configuration rather than raw fan count.
How to Test and Improve Cooling Step by Step
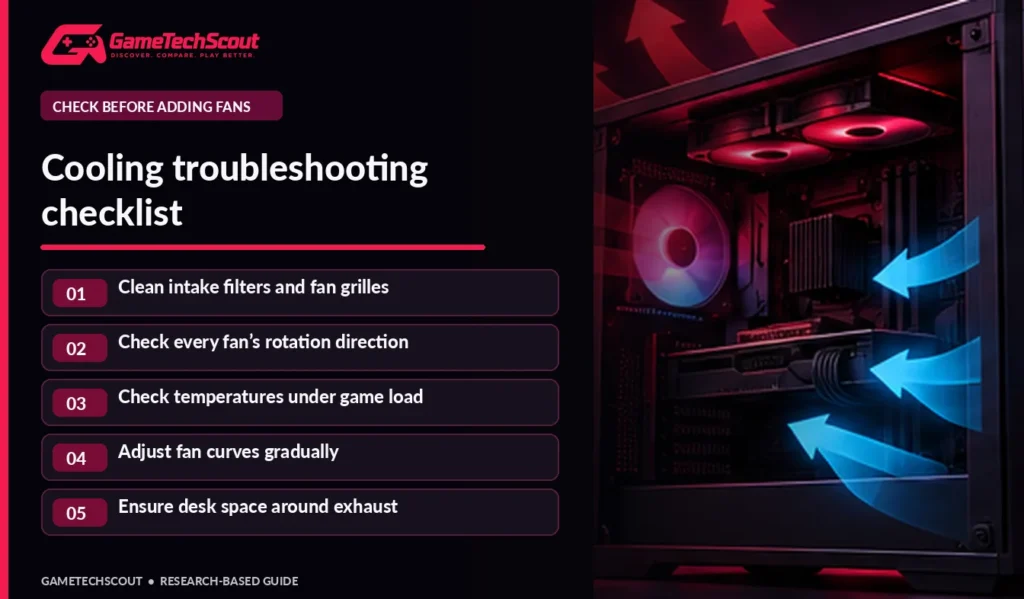
- Record a baseline. Run a repeatable game scene for 15–20 minutes and note CPU/GPU temperature, fan speeds, and clock behavior.
- Inspect filters and vents. Dust at the intake can prevent cool air from entering even if all fans spin.
- Verify direction. A fan mounted backward can fight the intended air path.
- Check clearances. Give the desktop breathing room; avoid pressing an exhaust directly against a wall or the back of a desk.
- Adjust fan curves. Increase cooling gradually while listening to how much noise you are adding.
- Test one change at a time. Compare the same game, room conditions, and settings.
Should You Run Fans at 100%?
Not usually. Full fan speed is useful for testing maximum cooling capacity, but can create noise and wear without a meaningful improvement over a moderate curve. Configure curves according to the temperature sensor and airflow characteristics the board or controller supports. GPU fans are controlled separately on many systems.
Clean the Case Without Damaging Components
Turn off and disconnect the computer before cleaning. Use the manufacturer’s recommendations for filters and fans. Avoid letting fans free-spin at extreme speeds during cleaning, and be careful with moisture, static discharge, and delicate connectors. Never open a power-supply housing: capacitors can retain hazardous charge.
Cooling Problems That Aren’t Really Case Airflow
High temperatures may result from a poorly mounted CPU cooler, an incorrect fan curve, dried thermal interface material, a nonfunctioning AIO pump, or software behavior that continuously loads the processor. A graphics card can also run hot because of its own heatsink and fan issue even when case airflow is fine.
If temperatures remain abnormal after simple cleaning and verification, check model-specific troubleshooting instructions. Avoid removing CPU or GPU coolers casually, especially where warranty coverage or delicate materials are involved.
For readers choosing their next case rather than modifying an existing one, our custom gaming PC builds guide explains how cooling fits into balanced component selection.
Common Gaming PC Airflow Mistakes
- Installing every visible fan as intake because it looks symmetrical.
- Ignoring the direction of top and rear fans.
- Blocking bottom intakes with thick carpet or desk accessories.
- Running a powerful CPU/GPU in a restrictive case without verifying temperatures.
- Using more fans to mask a failing cooler or pump.
- Forgetting that filters and radiator fins require maintenance.
- Replacing thermal paste without first checking easier causes.
- Assuming one fan diagram works for every case size.
Frequently Asked Questions About Gaming PC Airflow
How many fans should a gaming PC have?
A conventional tower can work with two front intakes and one rear exhaust. Stronger builds may benefit from additional fans, but the ideal count depends on the case, filters, and heat output.
Is positive pressure better for a gaming PC?
Slight positive pressure with filtered intakes can help limit dust entering through unfiltered gaps. Actual cooling still depends on airflow path and restrictions.
Should top fans be intake or exhaust?
Top fans are commonly exhaust in front-to-back layouts, but some designs use different arrangements. Check your case and radiator placement.
Will adding RGB fans reduce temperatures?
Only if those fans improve useful airflow. Lighting itself has no cooling benefit.
Do I need liquid cooling for a gaming PC?
Not necessarily. Suitable air coolers can handle many processors. Choose a cooling solution based on heat output, noise, space, and maintenance preferences.
How often should I clean gaming PC filters?
Inspect them regularly and adjust based on room dust, pets, and airflow conditions. There is no universally correct interval.
Conclusion: Better Airflow Starts With a Clear Plan
Good gaming PC airflow is not a competition to install the most fans. Start with a filtered intake path, useful exhaust, and enough space for hot air to escape. Measure temperatures, make one change at a time, and check whether the improvement is worth the noise and expense.
Before ordering a new case or cooling system, examine the parts you already own. If you’re planning a more extensive rebuild, compare configurations in GameTechScout’s custom gaming PC guide and tell us which case and fan layout you’re using in the comments.
Editorial disclosure: Airflow examples are general and illustrative. Follow your case, cooler, motherboard, and fan manufacturer’s installation and safety instructions.